
13 Mindblowing Video Editing Tips

With CapCut on desktop?
We honestly couldn’t believe how good it was.
Most people have no idea CapCut even has a desktop app.
Much less a good one.
Much less a free good one.
We were just as surprised as you, but check out the video and honestly tell us you don’t feel the same way.
That’s why we teamed up with CapCut to give you 13 of our most mindblowing video editing tips…
…in no particular order.
Skin Tone Protection
CapCut has a built in Skin Tone Protection feature.
Just activate it on your clip, and you can get as extreme as you want on your color grade, while automatically preserving your skin tones.
One-Click Noise Reduction
If you have noisy, grainy footage for any reason (especially because you shot your clips in bad lighting, you can use the one-click noise reduction feature to easily remove a lot of the noise for you.
Just turn it on, and as a bonus, you can turn on the Image Enhancement feature to improve image quality even more.
Faux Dolly Zoom
Made popular by films like Steven Spielberg’s Jaws, a dolly zoom is where you dolly the camera in towards your subject, while simultaneously zooming out (or vice versa).
You can digitally recreate the same effect by taking any clip smoothly moving away from your subject, and then going to the beginning of that clip and adding a keyframe to 'Scale’.
Then go to the end of the clip, and increase the scale until your subject is the same size in the frame as it was at the beginning of the clip. This will automatically create a new keyframe for you.
You can also do the exact same thing in reverse.

Auto Captions
Roughly 50% of people on social media watch videos with the sound off, so captions are important if you want to maximize your potential reach.
They can be extremely tedious though. Luckily, CapCut has an Auto Caption feature.
Just go to ‘Text’ in the top left toolbar, click ‘Auto Captions’, then just select the language you want.
That’s it.
You can also add any effects you want to your text, or change the look and style.
Creative Effects
If you’re looking for effects in any video editing software, you almost always have to look for something third-party.
CapCut surprisingly has some really amazing built-in effects, from transitions, overlays and text animations, to voice effects, and even animated stickers, which are perfect for social media.
Transition Combos
The stock transitions are also amazing, but one of the coolest things you can do is create your own Transition Combos.
A Transition Combo is when you use one type of transition at the end of your first clip, and a different, complimentary transition at the beginning of your second clip.
This essentially gives you an endless combination of transitions you can create, with the click of a button.
Collage Shot
This is an easy way to add a ton of visual interest to a shot, which works great for music videos, social media content, fashion films and more.
Duplicate a clip of a subject multiple times and stack them one on top of the other.
Then mask out different sections (simple shapes like rectangles, circles and triangles work best).
Add wildly different color grading and effects to each of the masked out layers, and you can also adjust their size (or even rotation) if you’d like.
This will create a stunning collage effect. For bonus points, you can even slightly animate movement into the different masked layers using keyframes.
Animated Letterboxes
This is one of our go to tricks to give our projects that ‘wow’ factor.
Select your clip, and under the ‘Video’ tab, select ‘Mask’. Then click ‘Filmstrip.
Set a keyframe on ‘Size’ where you want the animation to start.
Then go to where you want the animation to end, and drag the edges of the letterbox out of the frame.
Just like that, you have a stunning animated letterbox effect that’s perfect for major or impactful moments in your film.
Thumbnail Hack
If you’re lazy (or you just want to save time), you can actually create really good thumbnails right inside your edit.
Just press the ‘Click to Edit Cover’ button to the left of your timeline, and select the frame of your video you want to use as your thumbnail.
Press ‘Edit’, and you can add a ton of creative text and effects right there in the pop-up window.
Then, when you export your final project, CapCut will automatically export the thumbnail you created as well.
Dope.
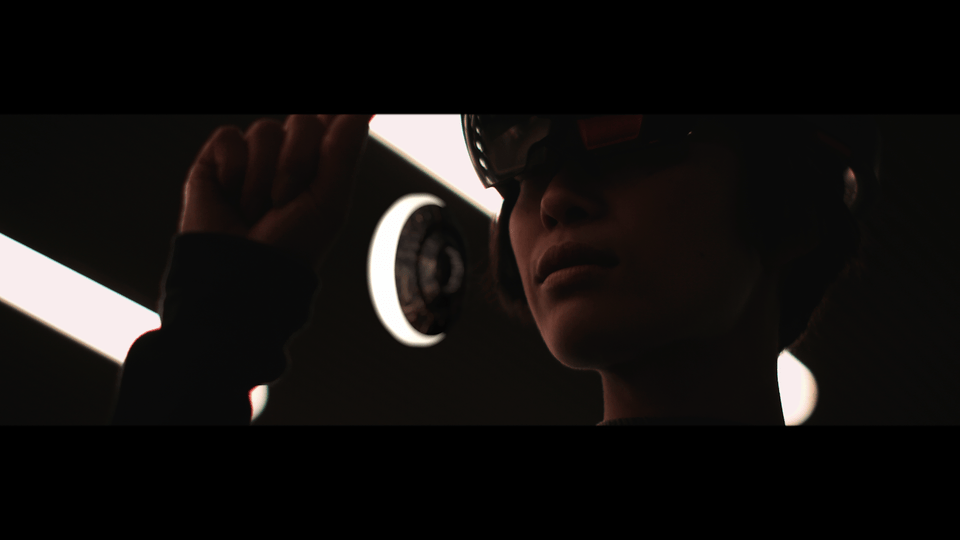
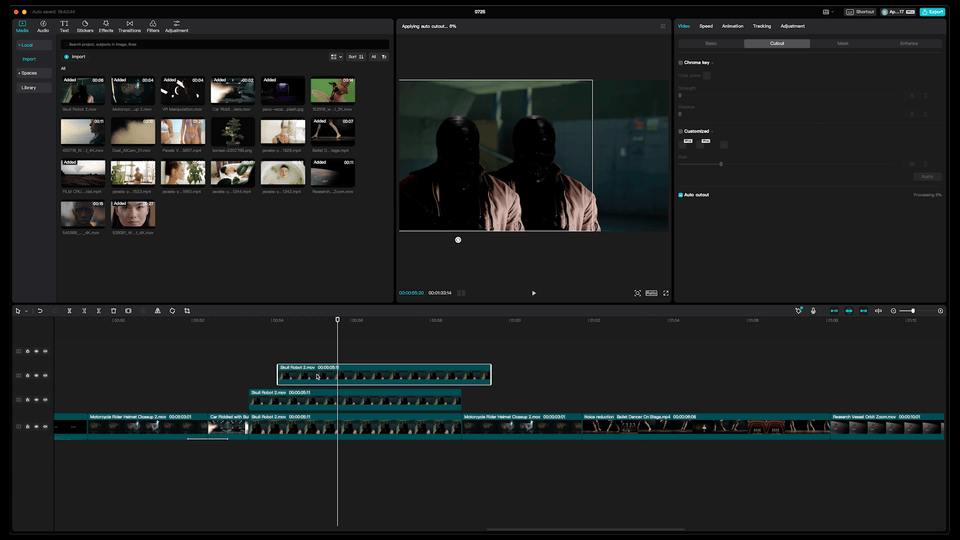
Cloning
This is one of our favorite effects. In fact, we made an entire music video for Lion El Aton using this exact technique.
Just duplicate a clip of your subject, and place the duplicate clip above the original in your timeline.
Then, with the duplicate clip selected, go to ‘Cutout’ under the ‘Video’ tab. Then select ‘Auto Cutout’.
This will automatically remove your subject from the background on this layer.
Click on your viewing window and drag the cutout to where you want it to be in your shot.
Then duplicate this cutout layer, and drag the subject of this duplicate to a different area of your screen.
You can do this as many times as you want, to create some really trippy or surreal visuals that will definitely get your viewer’s attention.

Split Scene
If you already have an edit or scene you need to cut back into individual shots, you can use the ‘Split Scene’ feature.
Just right-click on your clip, and select ‘Split Scene’.
That’s it.
CapCut will automatically cut your video back into individual shots in a manner of seconds.
Text-to-Speech
Most text-to-speech is horrible. CapCut’s is pretty good though, and it’s only going to get better.
Just add some text, make sure it’s selected, and then click on the ‘Text-to-Speech’ tab.
Then just select a voice you like. It’s that easy.
Remove Filler Words
If you’re a seasoned veteran (like us), you can probably record all your dialogue without ever saying filler words like ‘um’ and ‘uh’.
If you’re a padawan to voice recording though, or you’re editing a podcast or interview clip of someone else that you need to clean up, you can use CapCut to remove all the filler words.
With any audio selected, just click the scissor tool above your timeline.
A new pop-up will then appear with a transcript of all your audio.
You can then jump between tabs showing all your dialogue, ‘Pauses’, ‘Repeats’, and ‘Filler Words’.
You can just select which pauses, repeats or filler words you want to remove, and click ‘Delete’.
Just like that, CapCut will automatically remove all of them and re-edit for you perfectly.
This one alone is a total lifesaver.
Honestly, we were blown away by everything we were able to do in CapCut, so even if you have a go-to editor, it’s definitely worth trying out. You may find yourself using it more and more, just like us.